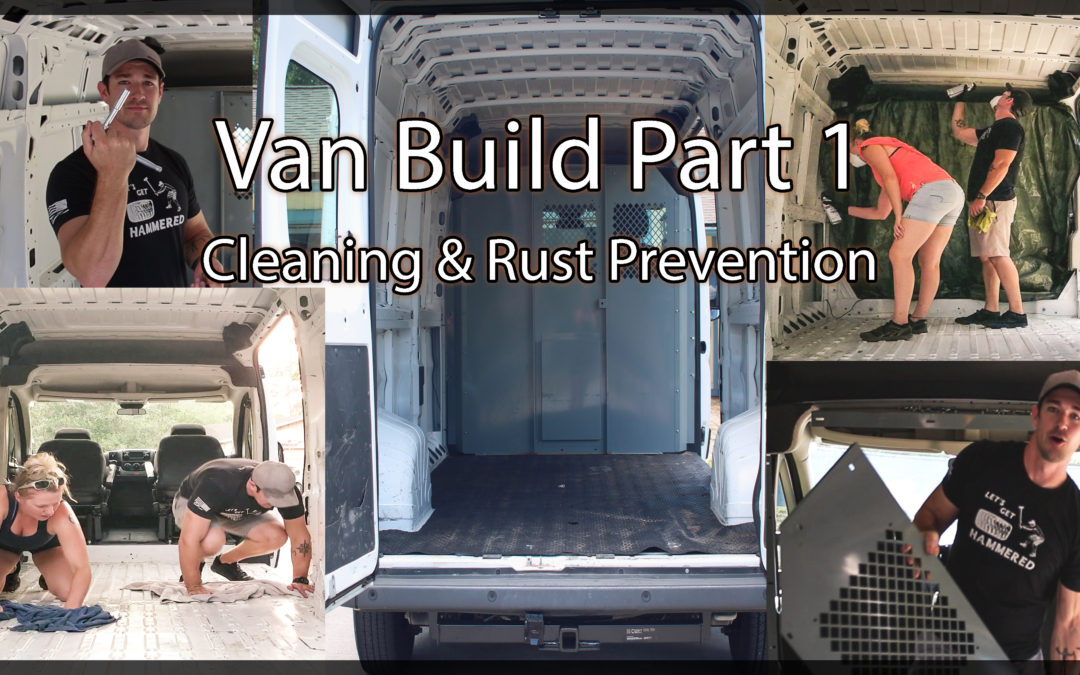
Cleaning and rust prevention are critical components to a van build when purchasing a used vehicle.
Before you start the official Van build. Taking the extra time to properly clean and rust prevent will save you headaches in the long run and make your van smell fresh!
Nobody likes a stinky van!

Before you start cleaning the van
Protect yourself by putting on PPE (personal protective equipment). Safety glasses should be worn to protect your eyes. Nitrile or latex gloves are a great idea if you are handling heavy cleaning chemicals.
Start high up in the van and work your way to the bottom. You will want to get rid of the dust, dirt, and grime.
Having a clean, rust free surface will allow your adhesives and paint to adhere to the vehicle properly, ensuring an even coat of paint and longer lasting protection of the metal.
The very first step of the Van Build is to take everything out of the vehicle. This will include everything that you want access too. This is a good point to take the seats, floor coverings, and head liner out of the cab, if you would like to clean and provide some rust prevention up there.
**We skipped this step on our build, but we will be doing it if we decide to rebuild. **
Our van was formerly a plumber’s vehicle so it was riddled with grime and chemical smells.

We started by taking the rubber mat out of the vehicle and the metal partition. The partition was bolted in and was easy to remove with a ratchet and wrench combination.
We saved all of the metal from the partition and part of it became our counter top later. This saved us quite a bit of money on a counter top.
There were significant amounts of grime underneath the rubber mat. We swept, vacuumed, mopped, and repeated until the floor and walls were squeaky clean.

After cleaning thoroughly, it was time to clean up and bare metal areas.
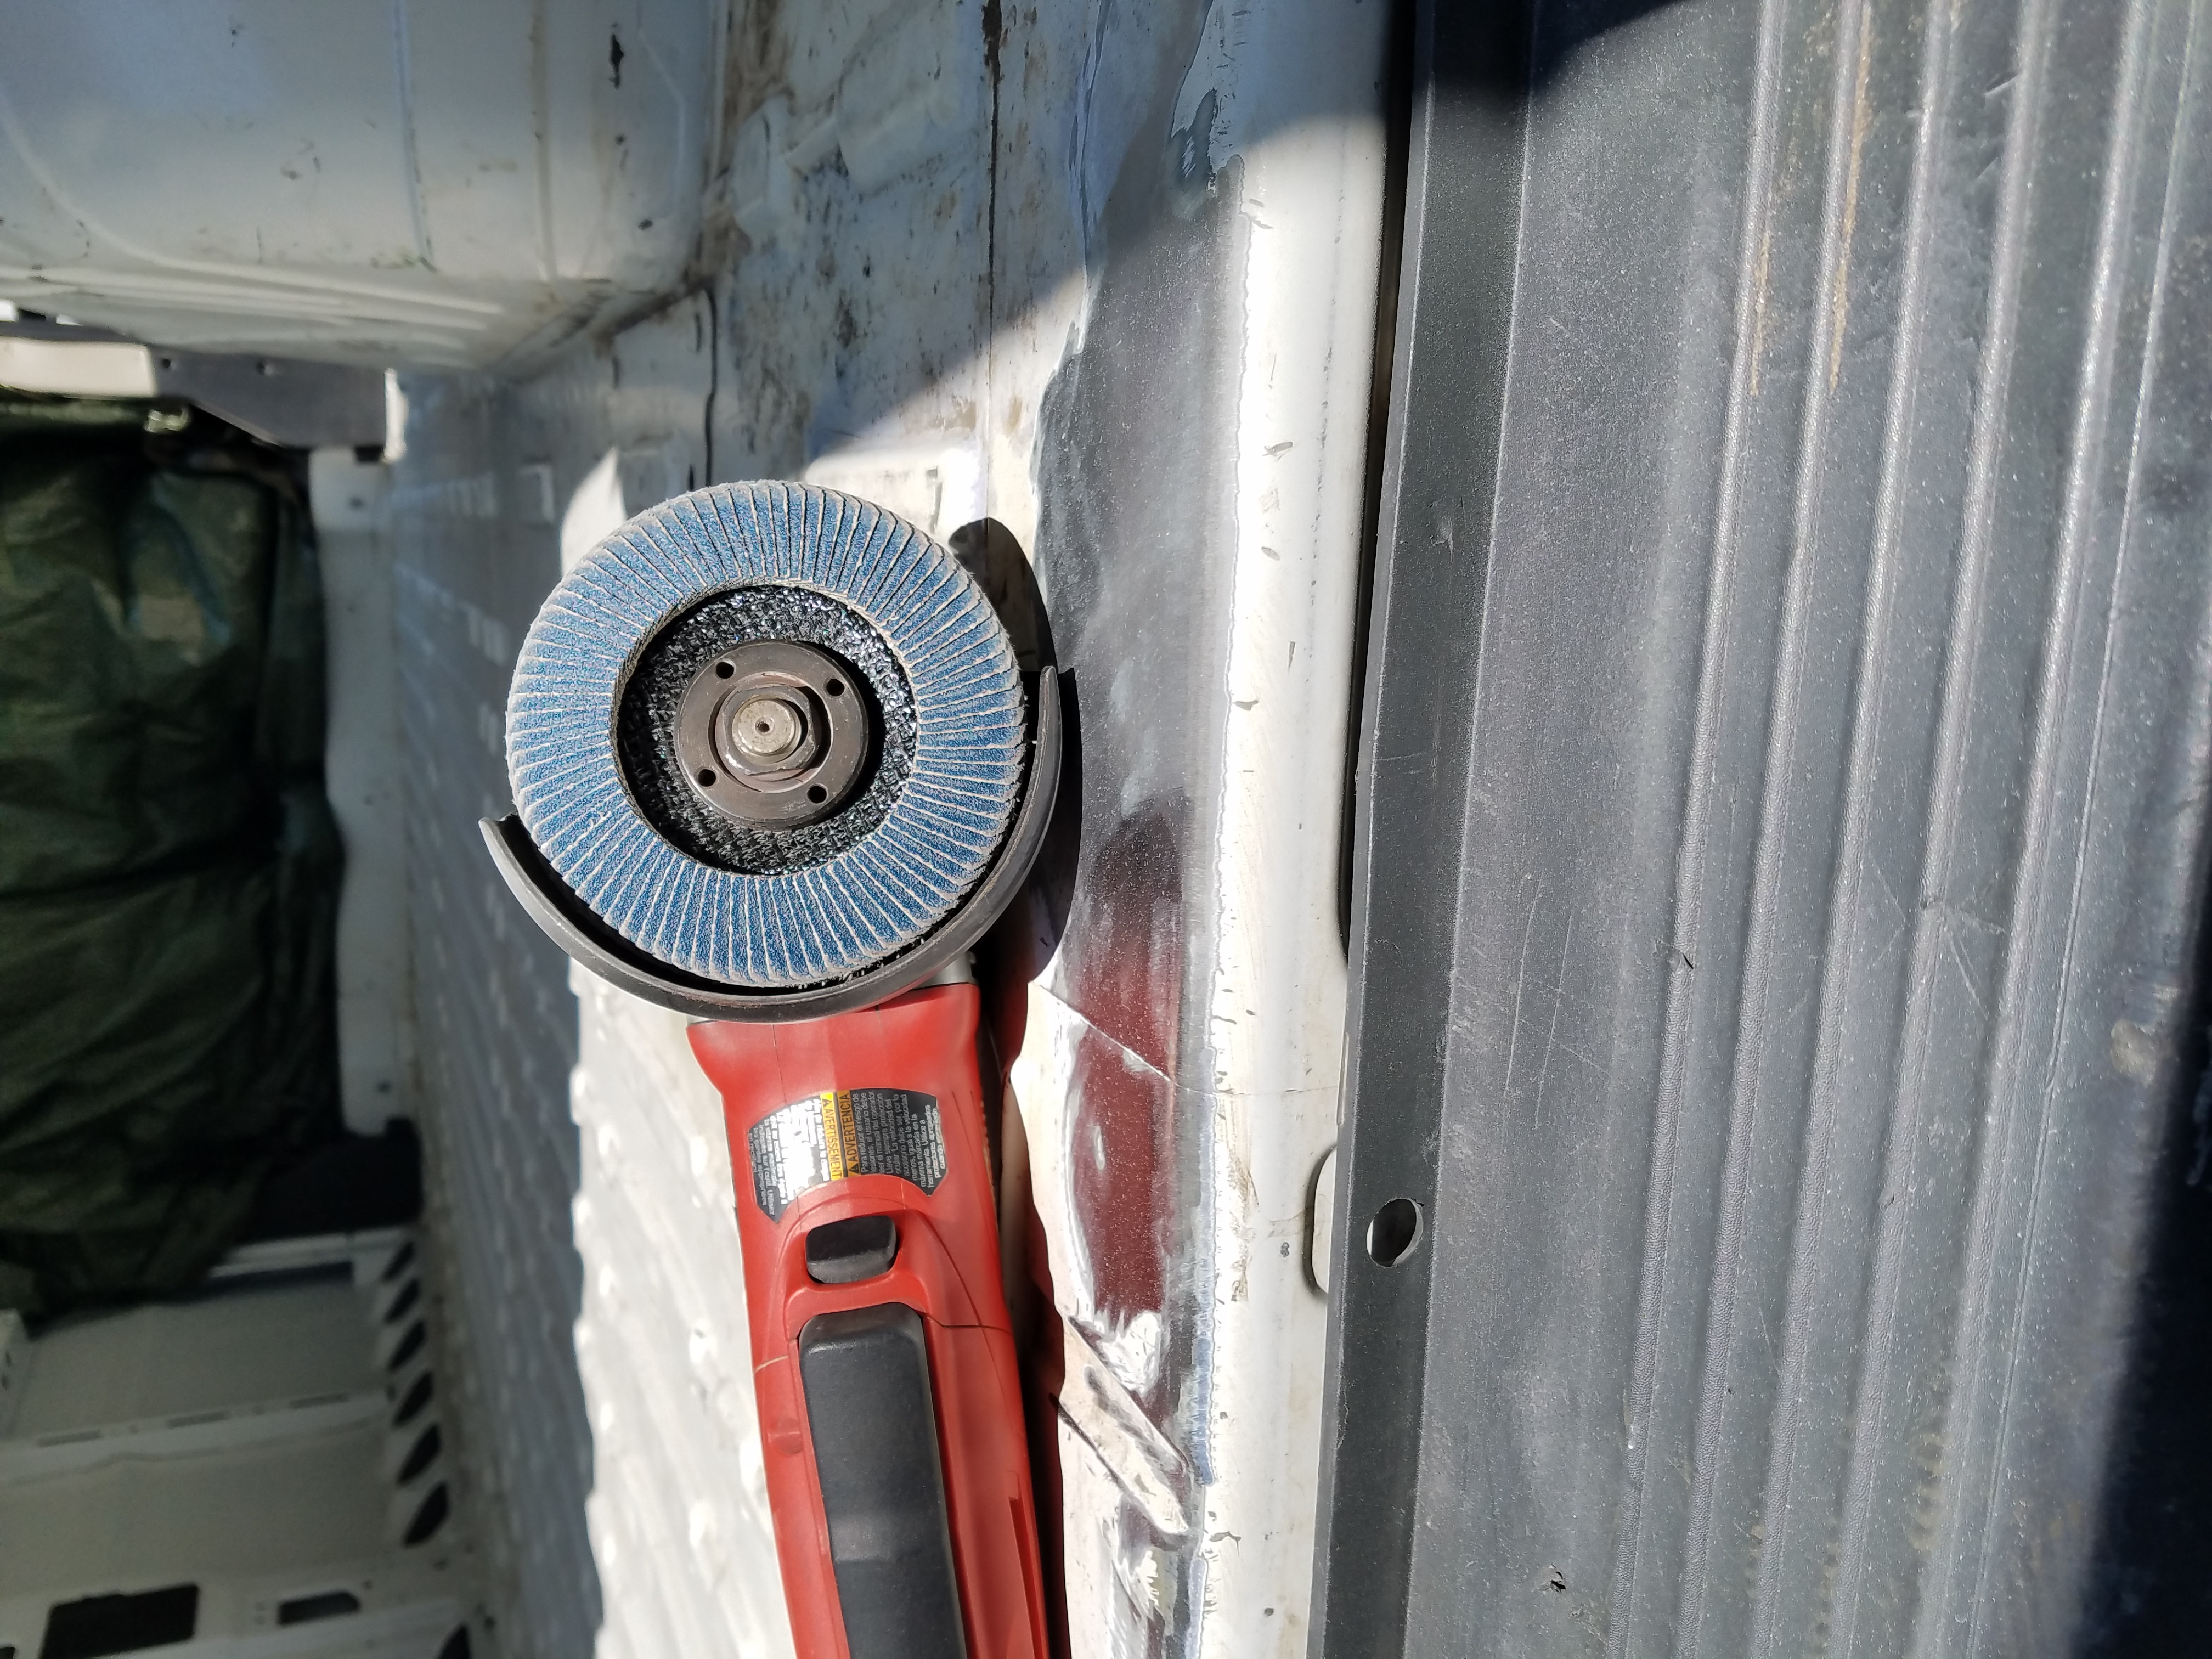
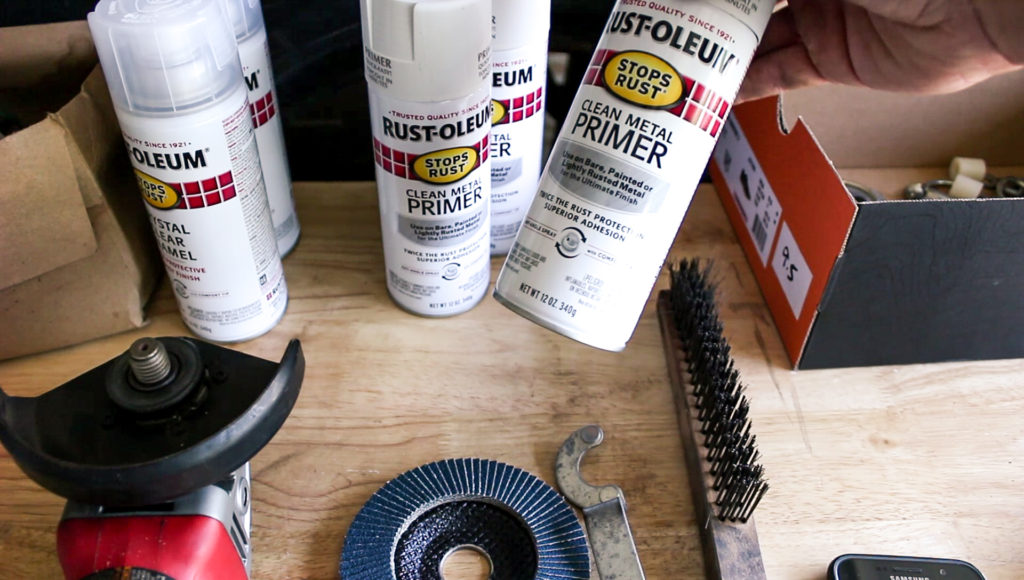
Some of these areas had bits of rust on them. We took a wire brush and an angle grinder with a 4 inch flapper wheel to these spots.
**We already owned the angle grinder, but if you don’t and want to save yourself $100, you can sand everything by hand.**

The flapper wheel is a disk with little sandpaper bits on it. This is a much safer way to remove the rust than a traditional grinding disk.
The flapper wheel takes away metal at a much slower rate and will allow you to clean the metal without removing to much of it.
**Using the right type of disc is very important, be sure to verify what type of material the disc is good for. You do not want to use a cutting disk for grinding because it will probably explode. That is very dangerous, so wear your PPE.**
Once the rust was removed, we put on our PPE (personal protective equipment) and started spraying white Rustoleum on the bare metal. Rustoleum is cheap and effective way to protect the metal from oxidizing (rusting).

Any rust inhibiting paint will work. The whole idea is to protect the bare metal, this will prevent it from oxidization (rusting). Moisture is a part of Vanlife; the more you prep your vehicle before the build, the longer it will last.
The timeframe of completion depends entirely on how rusty and dirty your vehicle is. It took us 1 weekend to complete.
If there are rust holes through any of the metal, it is best to remove all of the bad metal and weld in a patch. This is a much more advanced process, so we recommend not getting a vehicle that has that much rust, unless you are an experienced welder.
That is cleaning and rust prevention in a nutshell. Feel free to comment or message us directly with any questions. We love to help people out.
Checkout the complete build here.
If your not already, show some love to our Instagram and Youtube. The more we grow, the more content we can provide to entertain and help make your build go smoother.
Cheers!


